Most quilters don’t enjoy the quilt basting step. It’s tedious and time consuming… Unfortunately, it’s a necessary task, and one that requires attention to detail.
‘Quilt basting’ is the process of temporarily securing the layers of a quilt together before quilting. It’s often referred to as “making a quilt sandwich.”
Before you can quilt the layers together, you need to baste them to prevent shifting and puckering while you sew. Some quilters like to do this with pins, others rely heavily on glue, and others use thread or a quilt basting gun. In this post, I’ll show you how to baste a quilt a few different ways and explain when to use each method.
Step 1: Tape Down the Backing Fabric
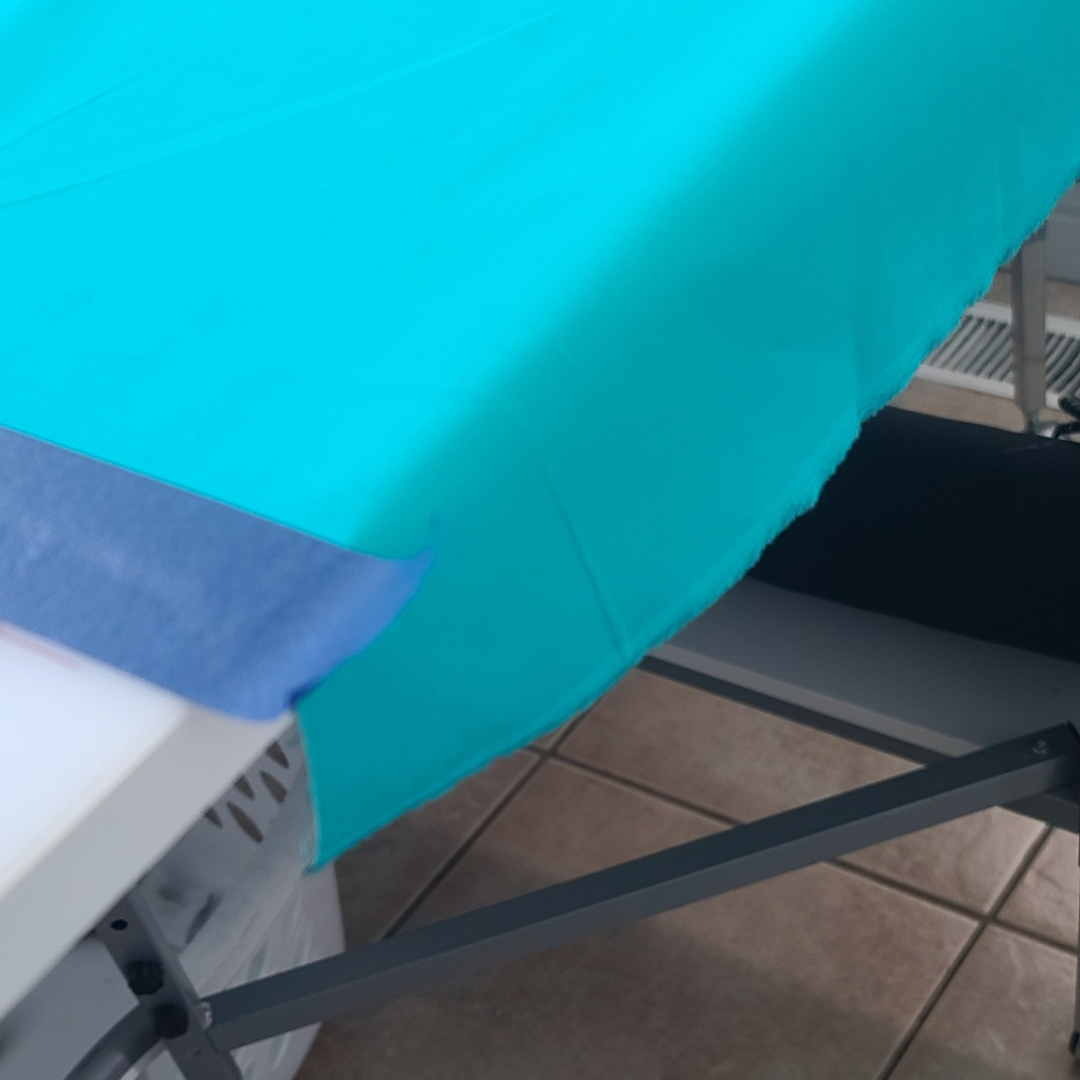
Regardless of what method you choose to baste your quilt, the first step is always smoothing out your backing fabric and securing it to a flat surface, such as a large table or the floor. You’ll want to iron the backing fabric first to get rid of any wrinkles.
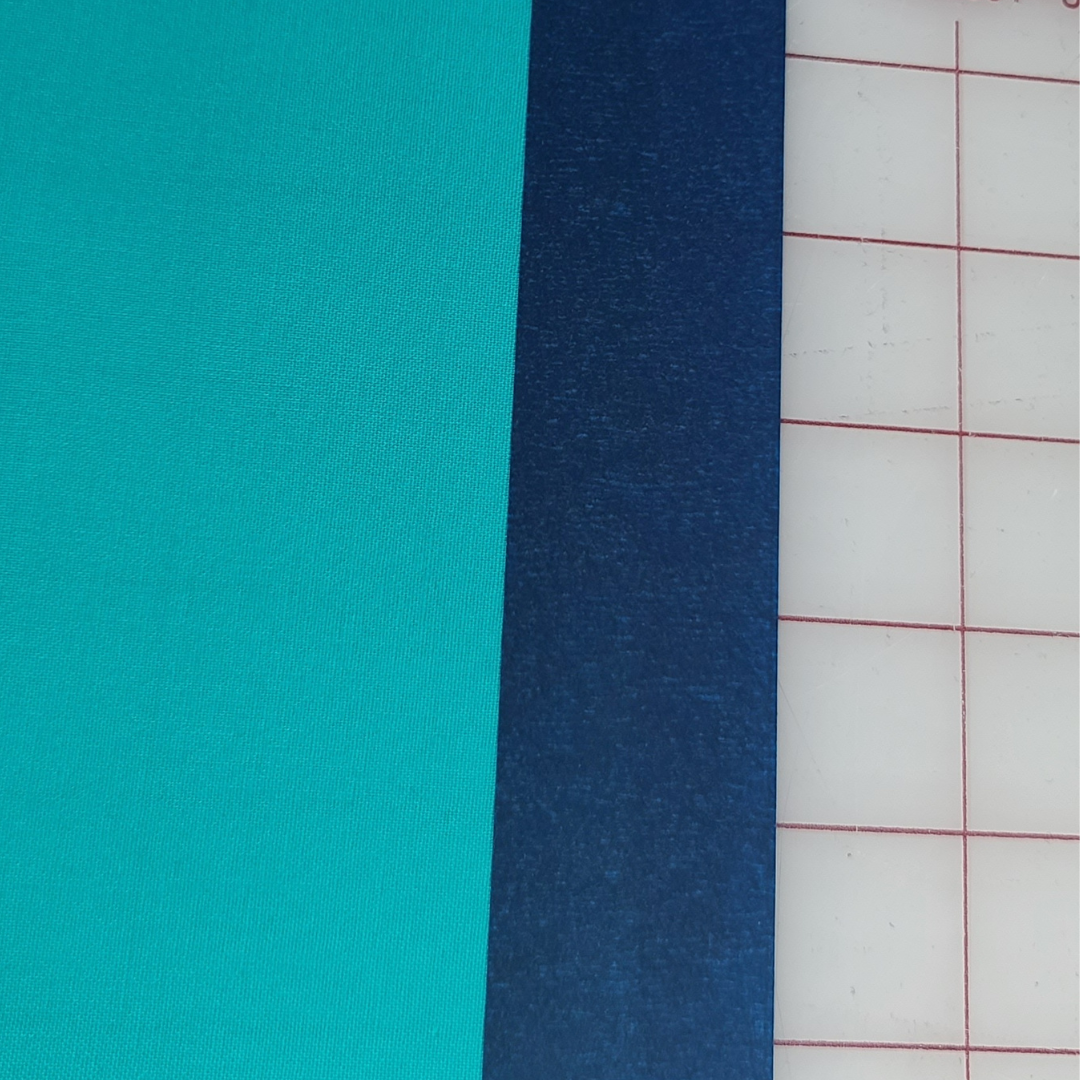
Spread out the backing fabric with the wrong side up (printed or right side is facing down towards the floor or table). Then, use some painter’s tape to attach the backing fabric to your surface around the edges. This is easier if you use thick tape that is at least 2 inches wide.
Tape all sides of the backing fabric to the floor, meticulously smoothing out any wrinkles. However, avoid stretching the fabric. It should be taut, but not stretched.
If you’re encountering issues with painter’s tape not holding well on your work surface, try switching to masking tape. It offers similar properties but with added strength.
Step 2: Create the Quilt Sandwich
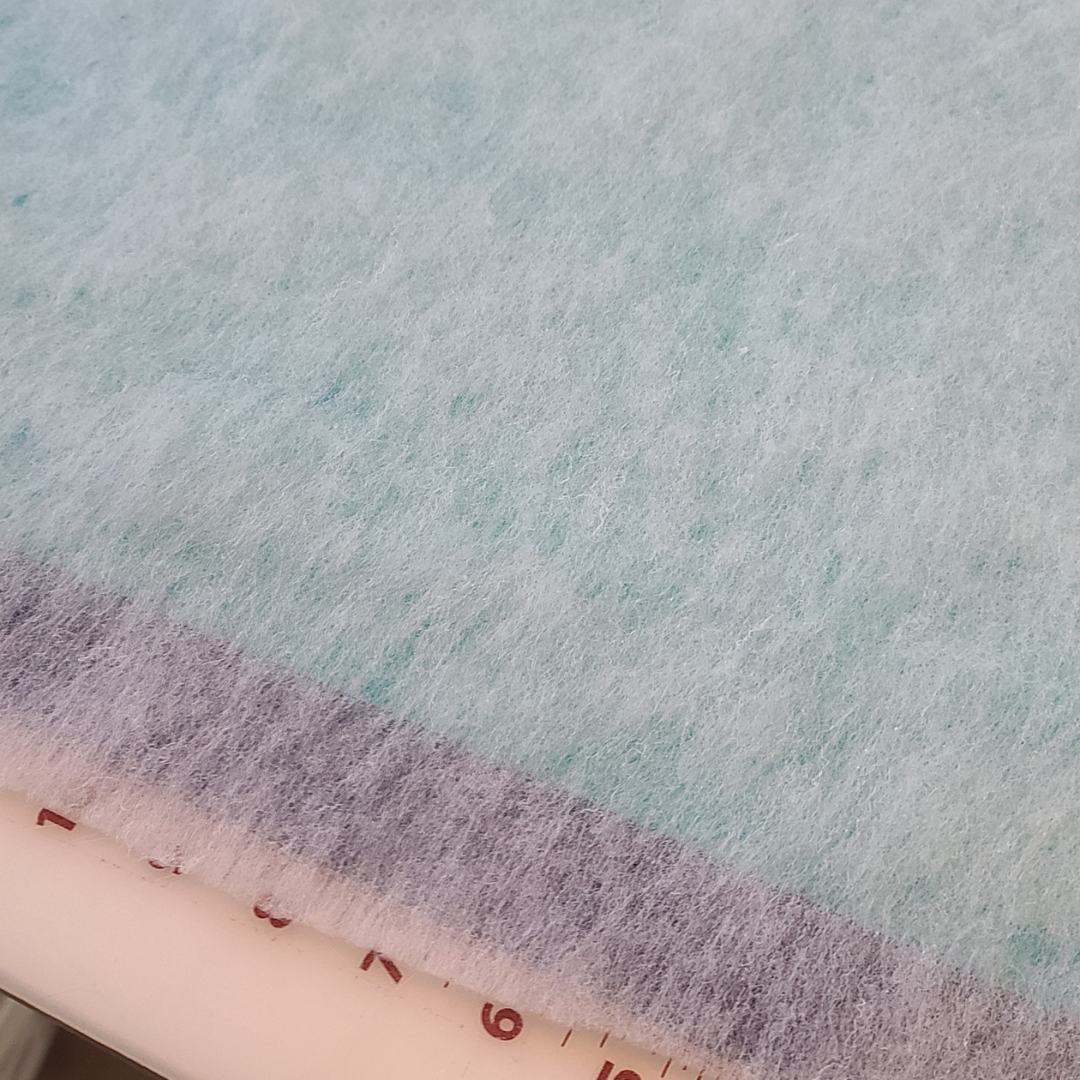
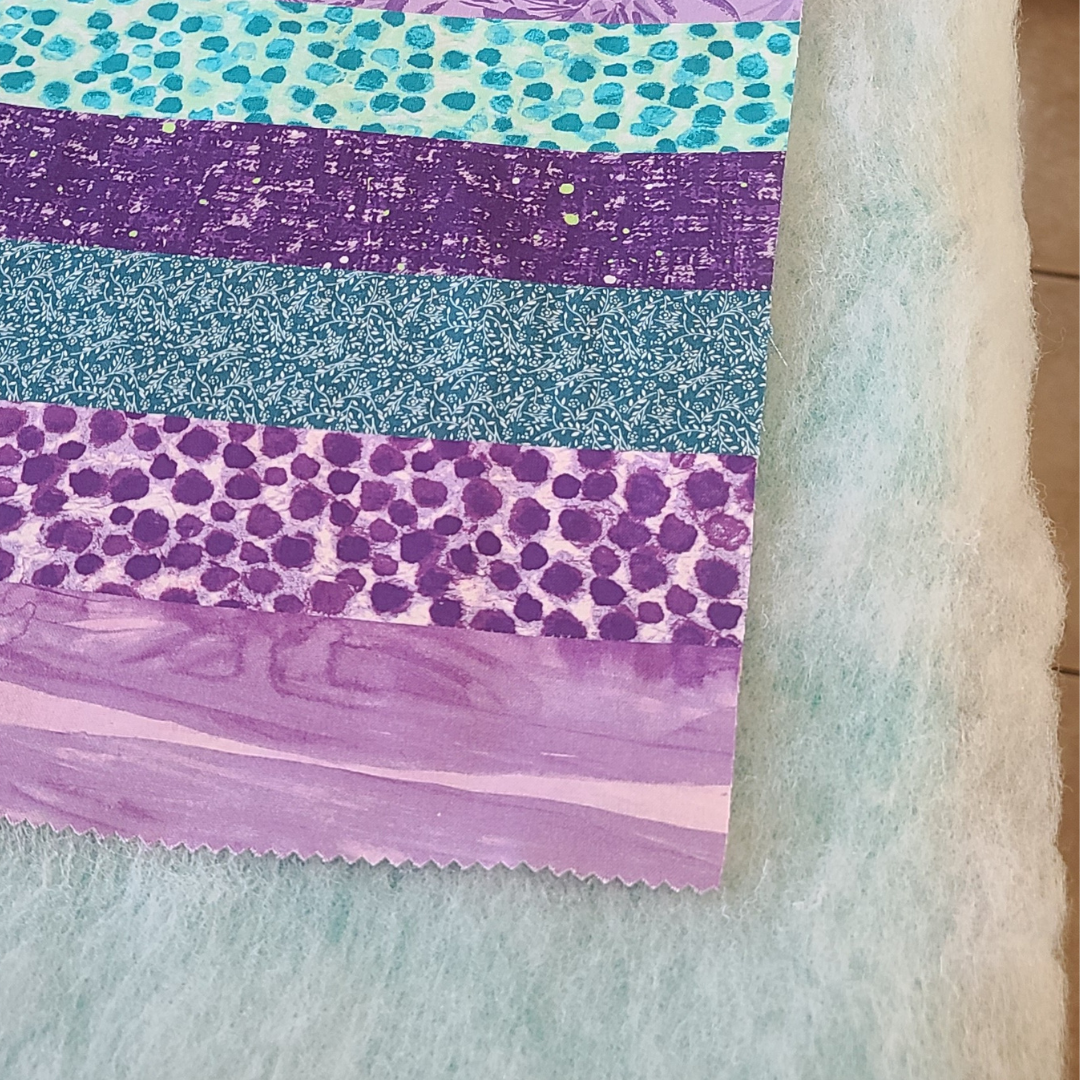
Take your batting out of the package and smooth it out on top of your backing fabric. Trim it down to be a few inches larger on all sides.
Next, carefully place the pieced quilt on top of the other layers, ensuring a smooth alignment.
Step 3: Baste the Layers of Your Quilt (4 Ways)
Now that your quilt sandwich is prepped, it’s time to baste. There are lots of methods you can use. Here are four ways to baste a quilt:
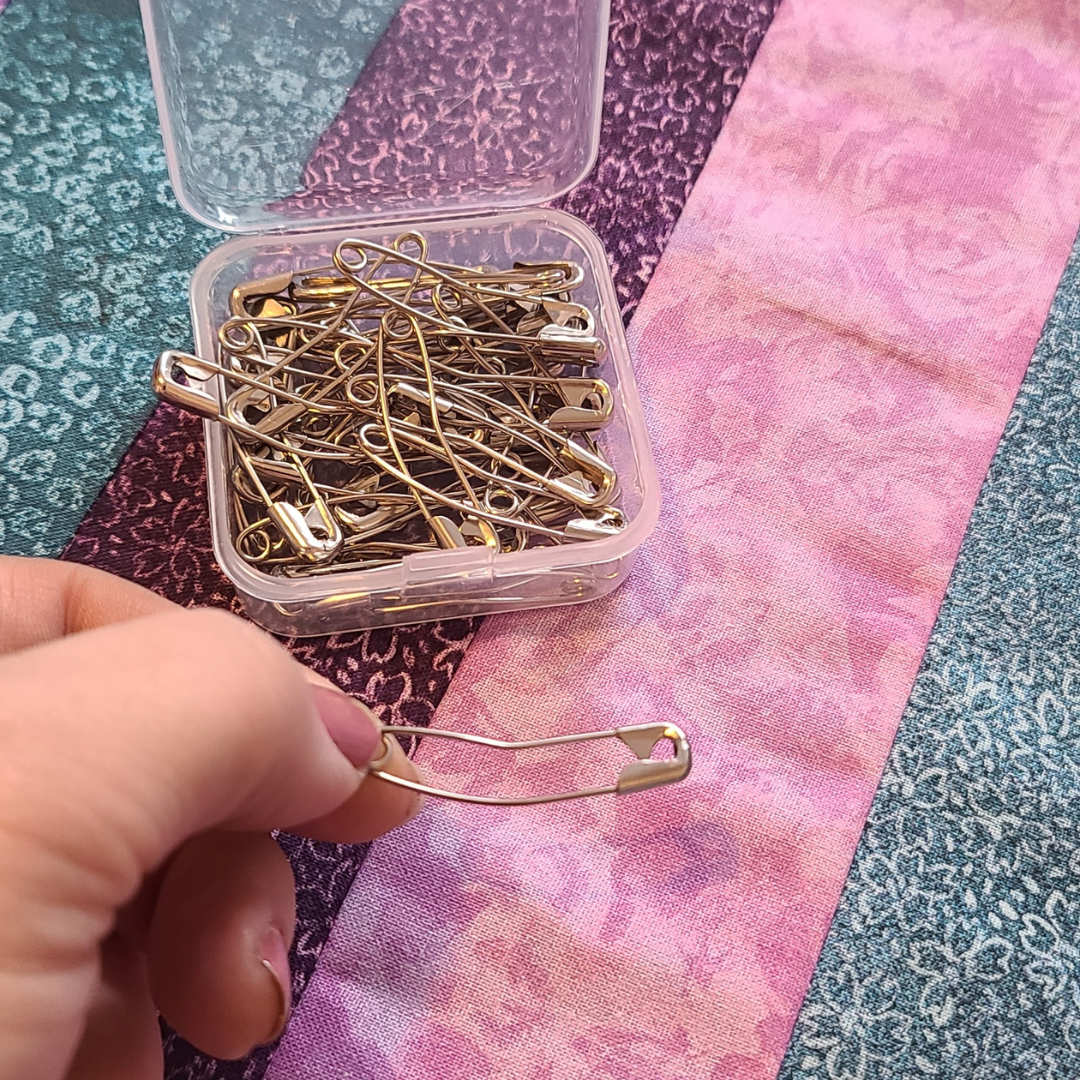
How to Pin Baste a Quilt: Using curved safety pins, place pins every 3-4 inches apart, going through all of the layers. Start in the middle and work your way to the edges, ensuring that your quilt sandwich stays flat as you go. The safety pins do not need to be aligned perfectly but try not to place them anywhere that you plan on stitching.
How to Spray Baste a Quilt: If you don’t like how long it takes to baste a quilt with pins, you could just use basting spray. However, this method is only recommended for small quilts. To baste a quilt with basting spray, separate sections of each layer and spray the adhesive on both the batting and the fabric. Then, press them together and smooth out any wrinkles or puckers. Basting spray can get messy, and expensive, too!
How to Thread Baste a Quilt: This was the original way to baste a quilt. It involves hand sewing several rows of long stitches to hold the layers of your quilt together. The stitches only need to be every 4 to 6 inches apart. As you thread baste, smooth out wrinkles as you go.
How to Baste a Quilt with a Basting Gun: Arguably one of the fastest ways to baste a quilt, a quilt basting gun allows you to place little plastic tacks wherever you shoot them. After you’re done quilting, you simply snip off the tacks with a pair of scissors.
No matter which way you choose to baste your quilt, turn it over when you’re done to check for puckers. It’s better to fix any problems with your quilt sandwich before you start quilting. Once the quilting is complete, remove the basting stitches or pins and then you’re ready to bind your quilt.