
Quilting
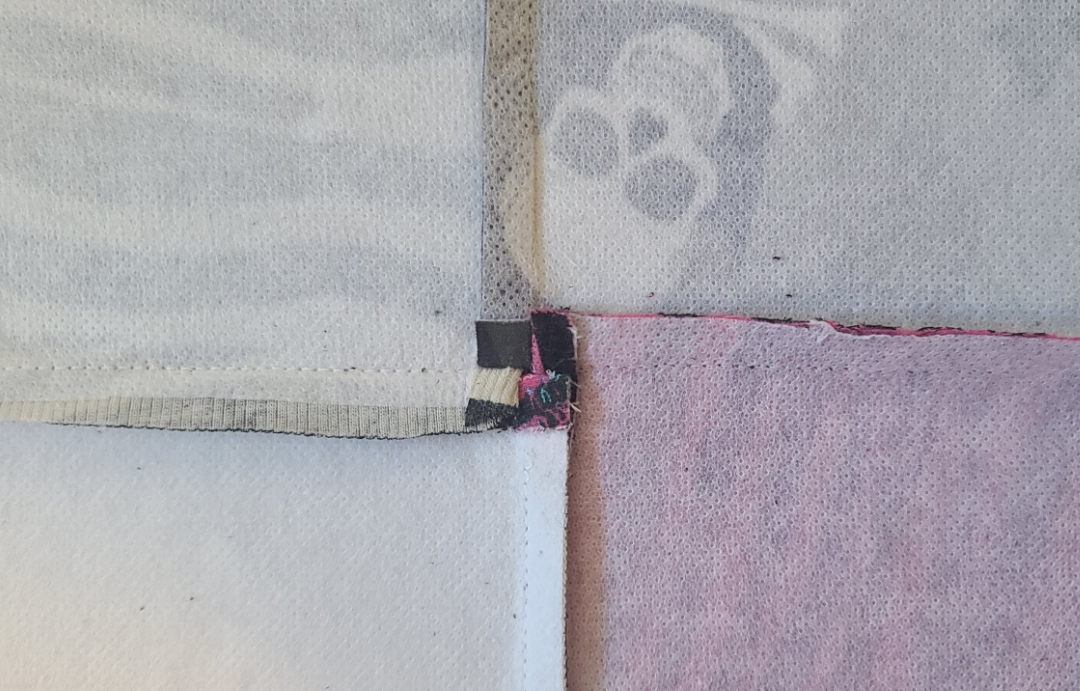
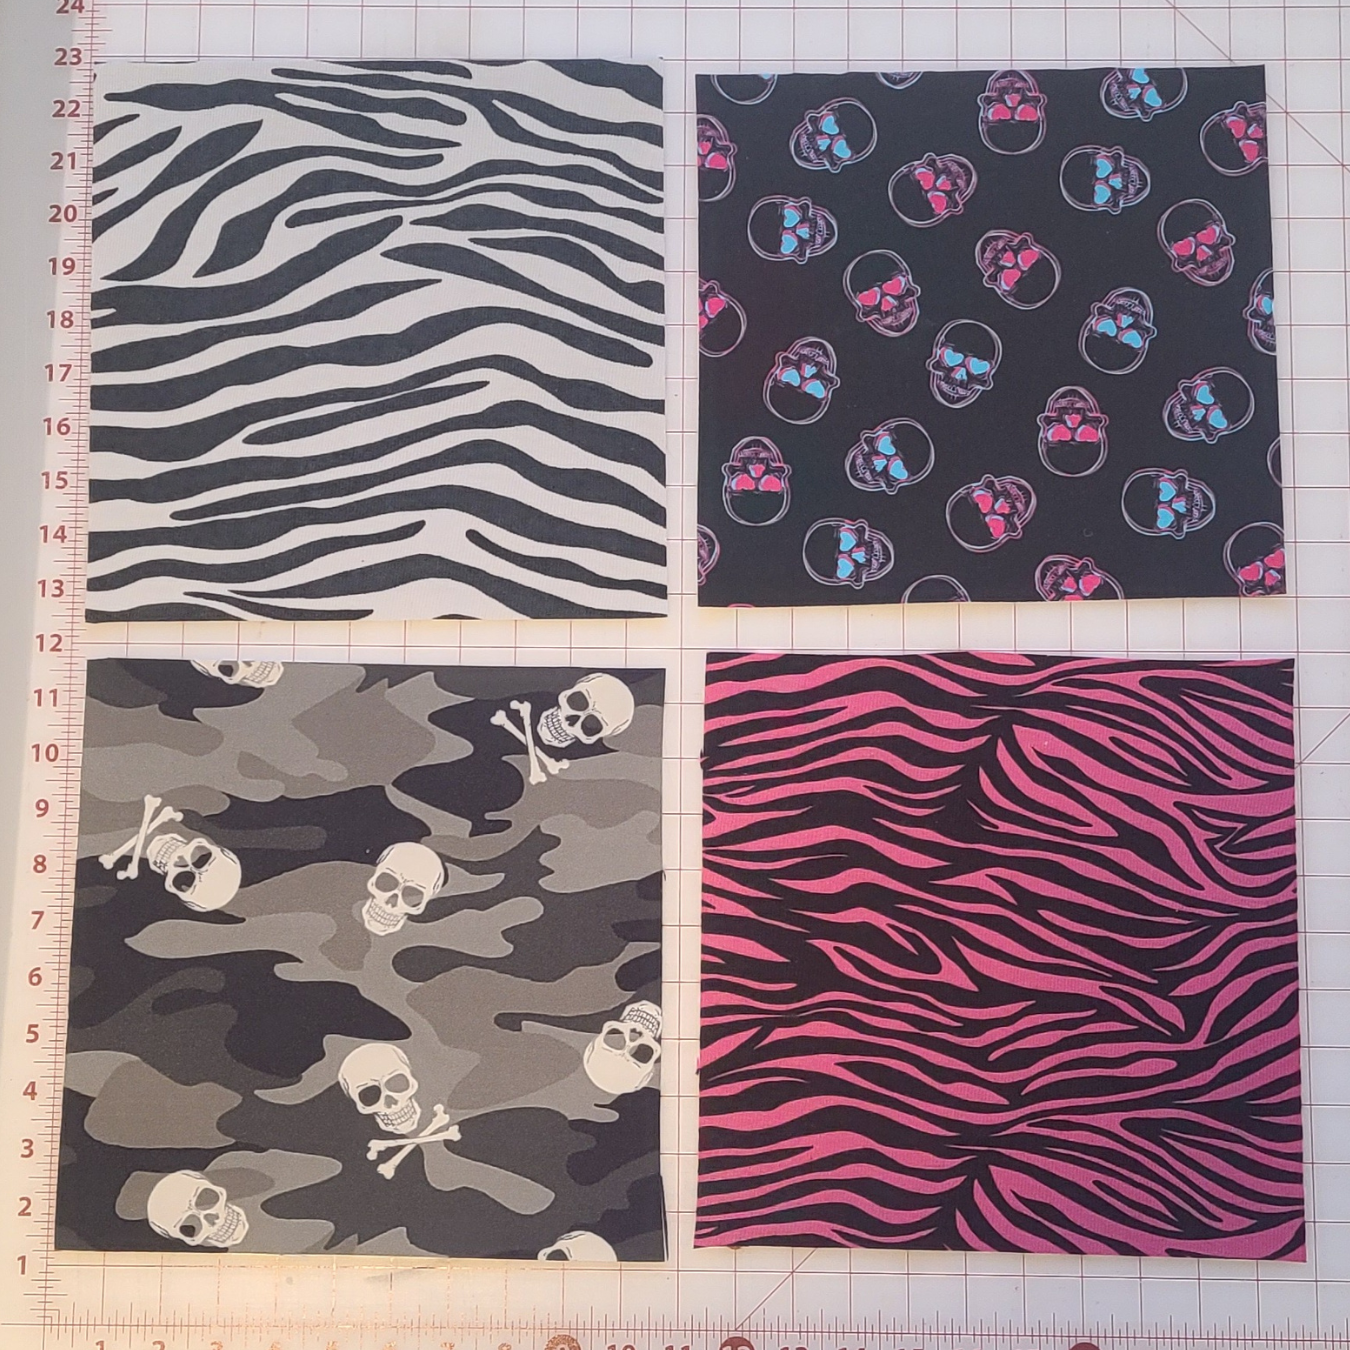
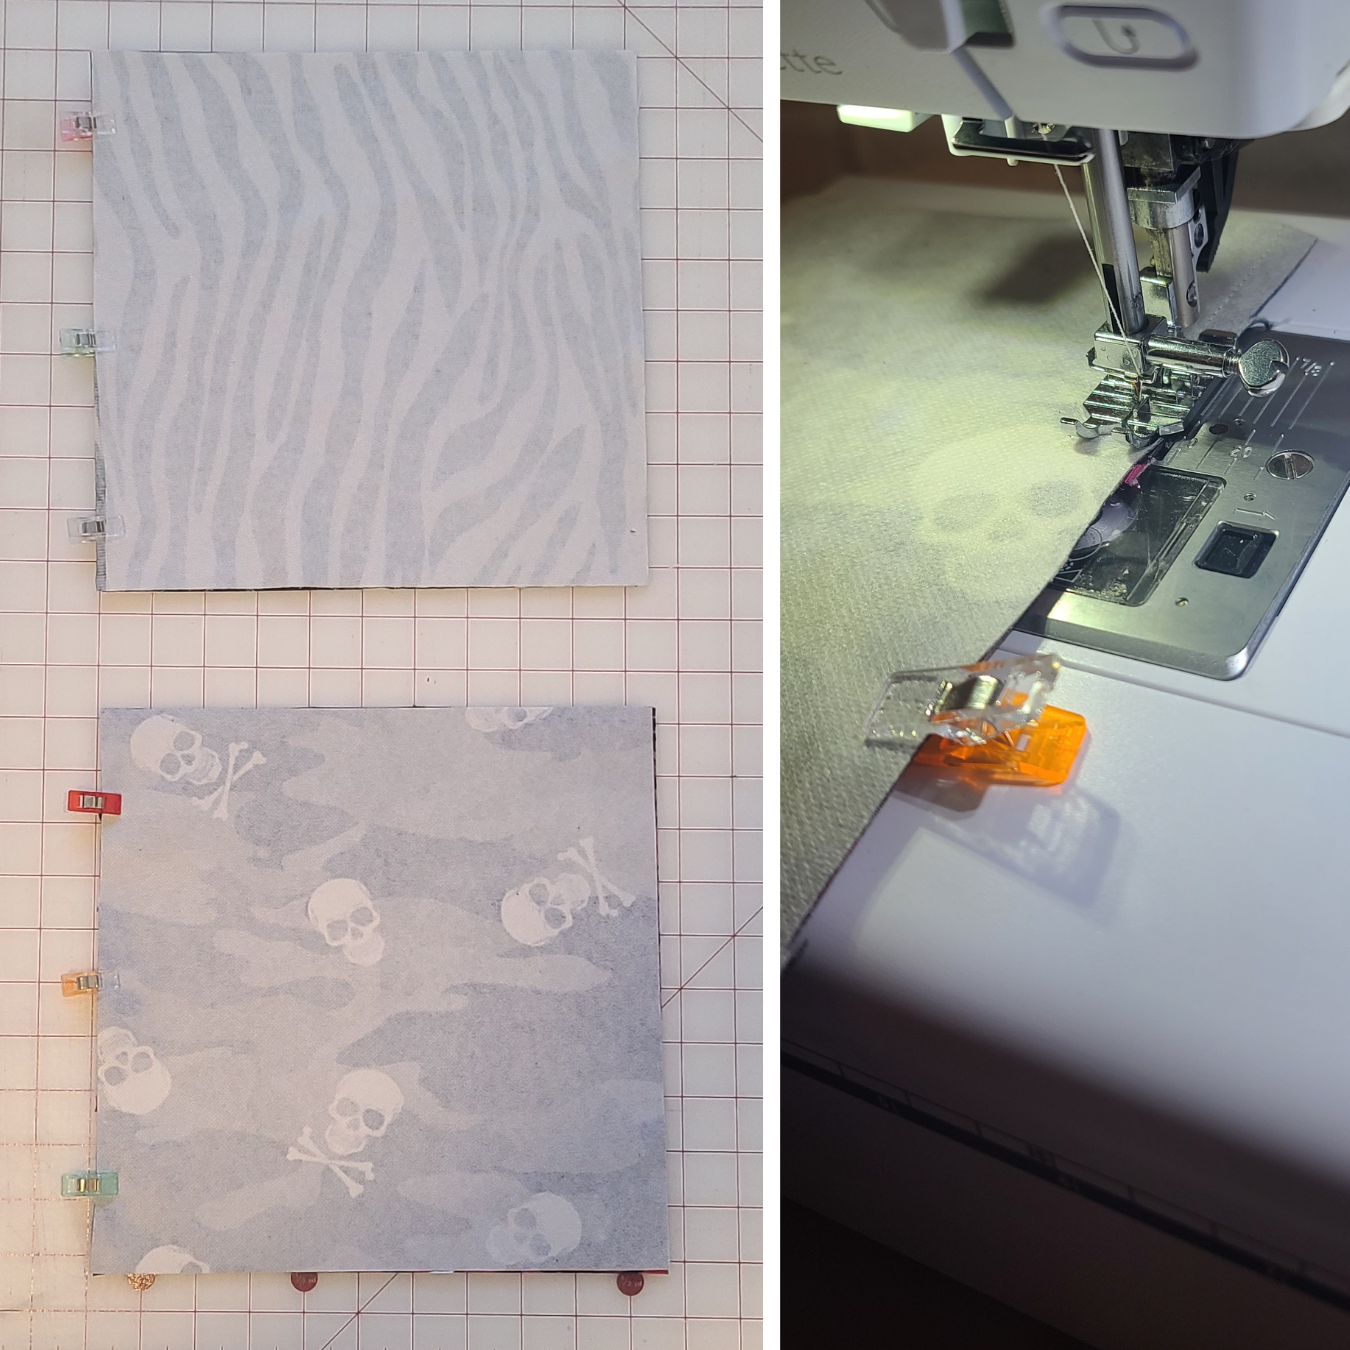
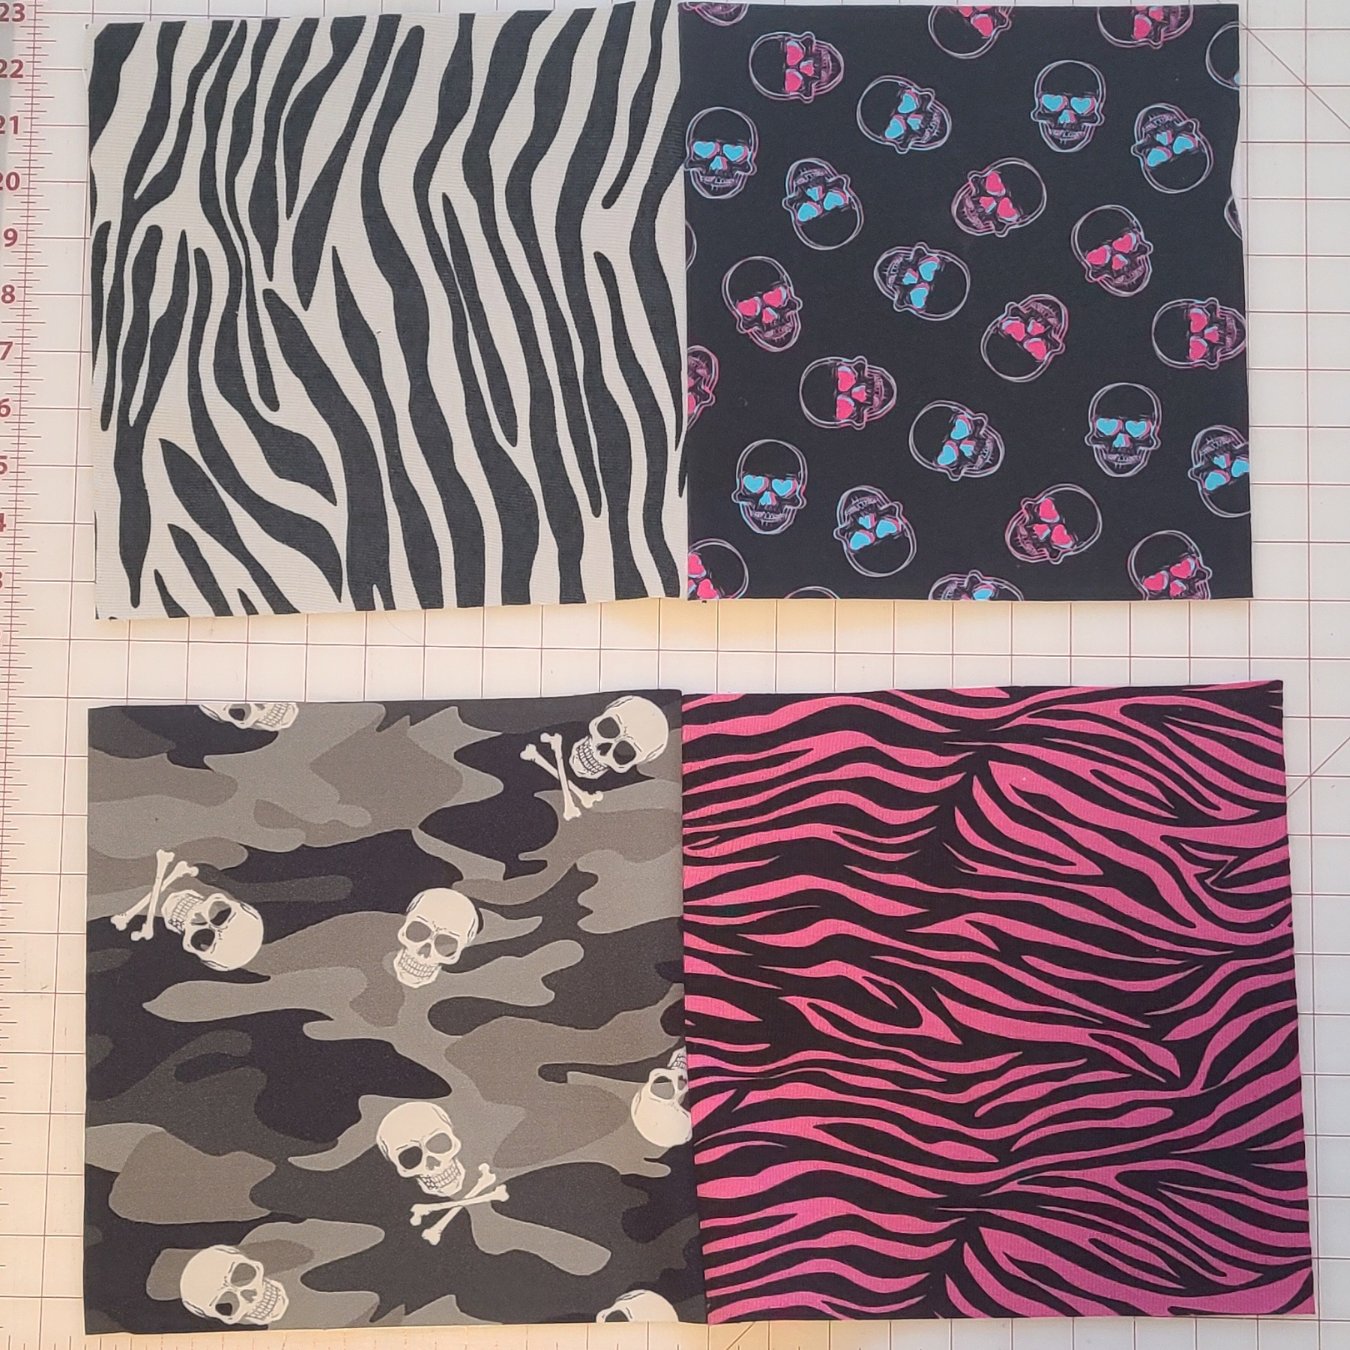
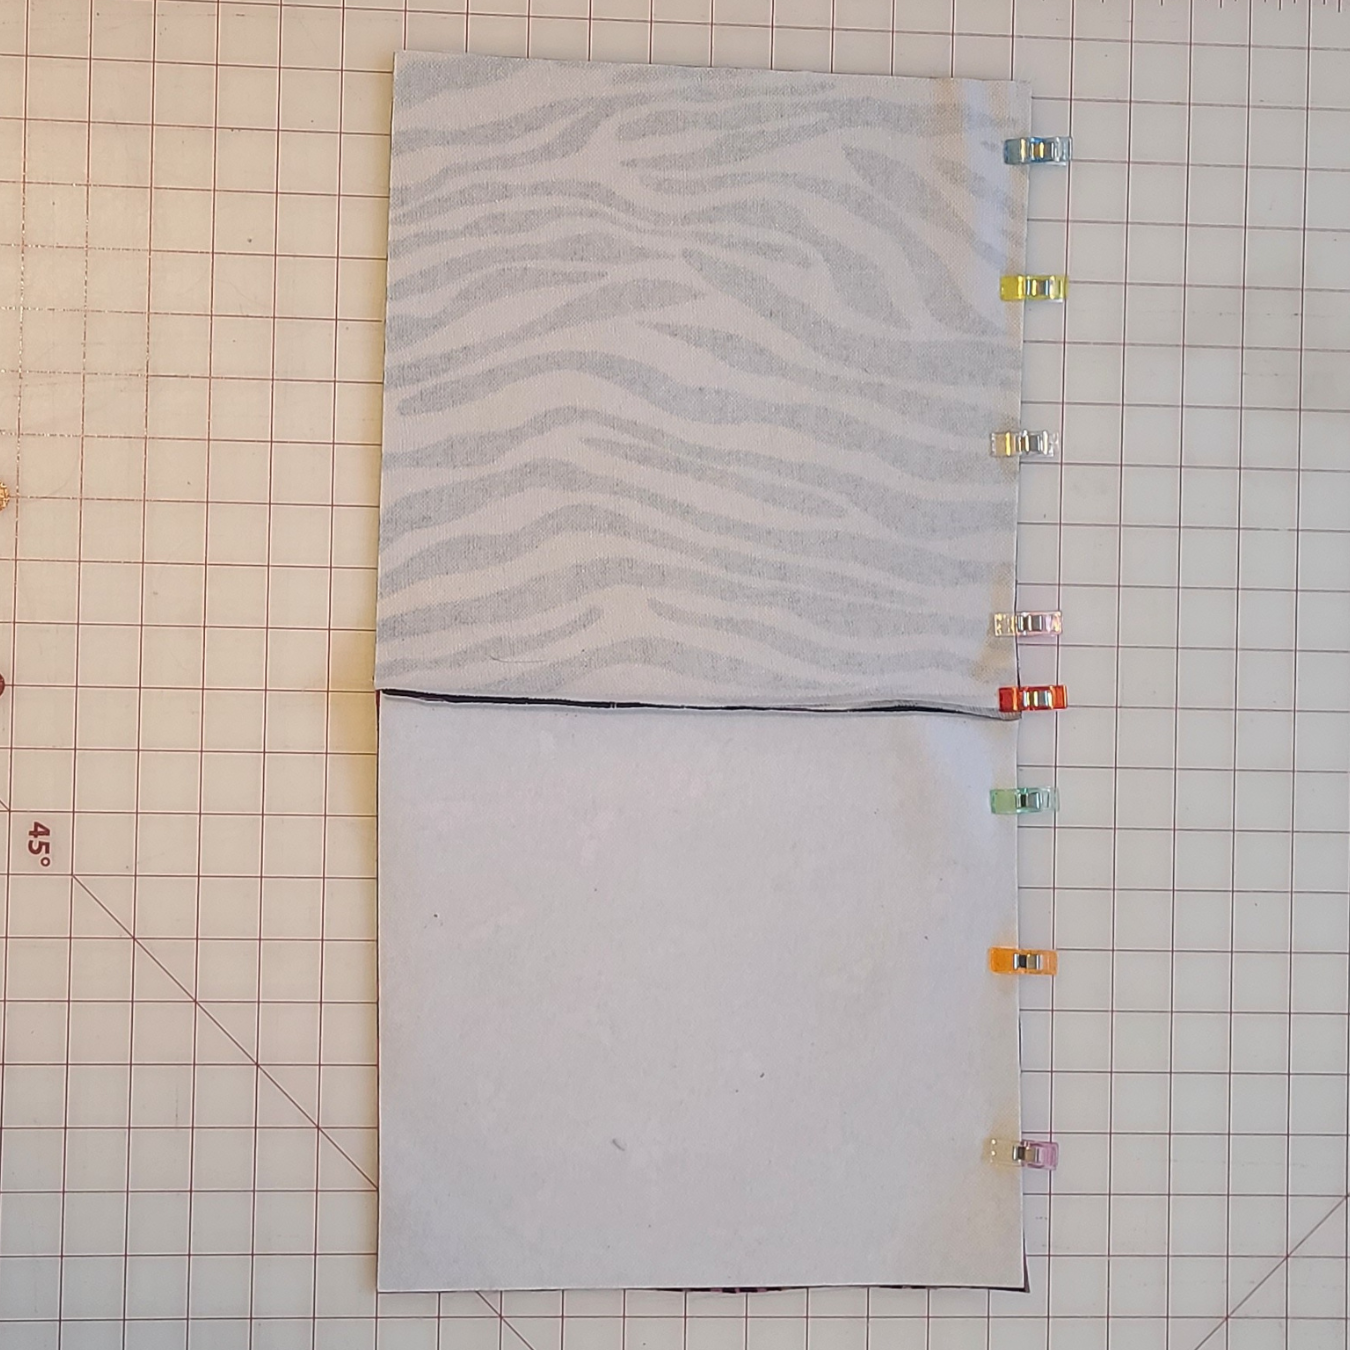
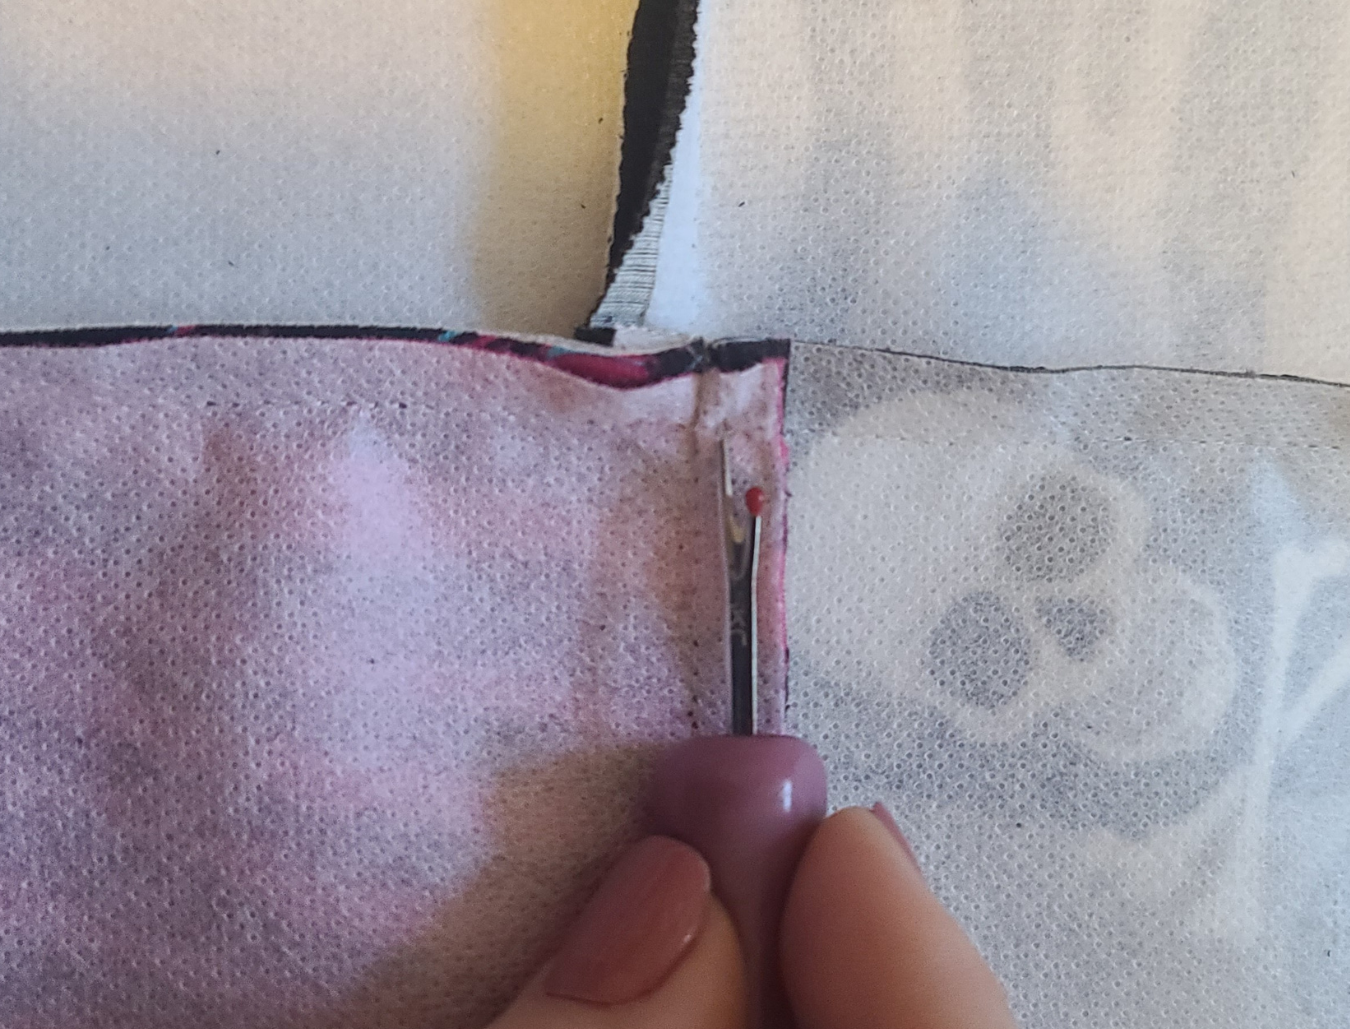
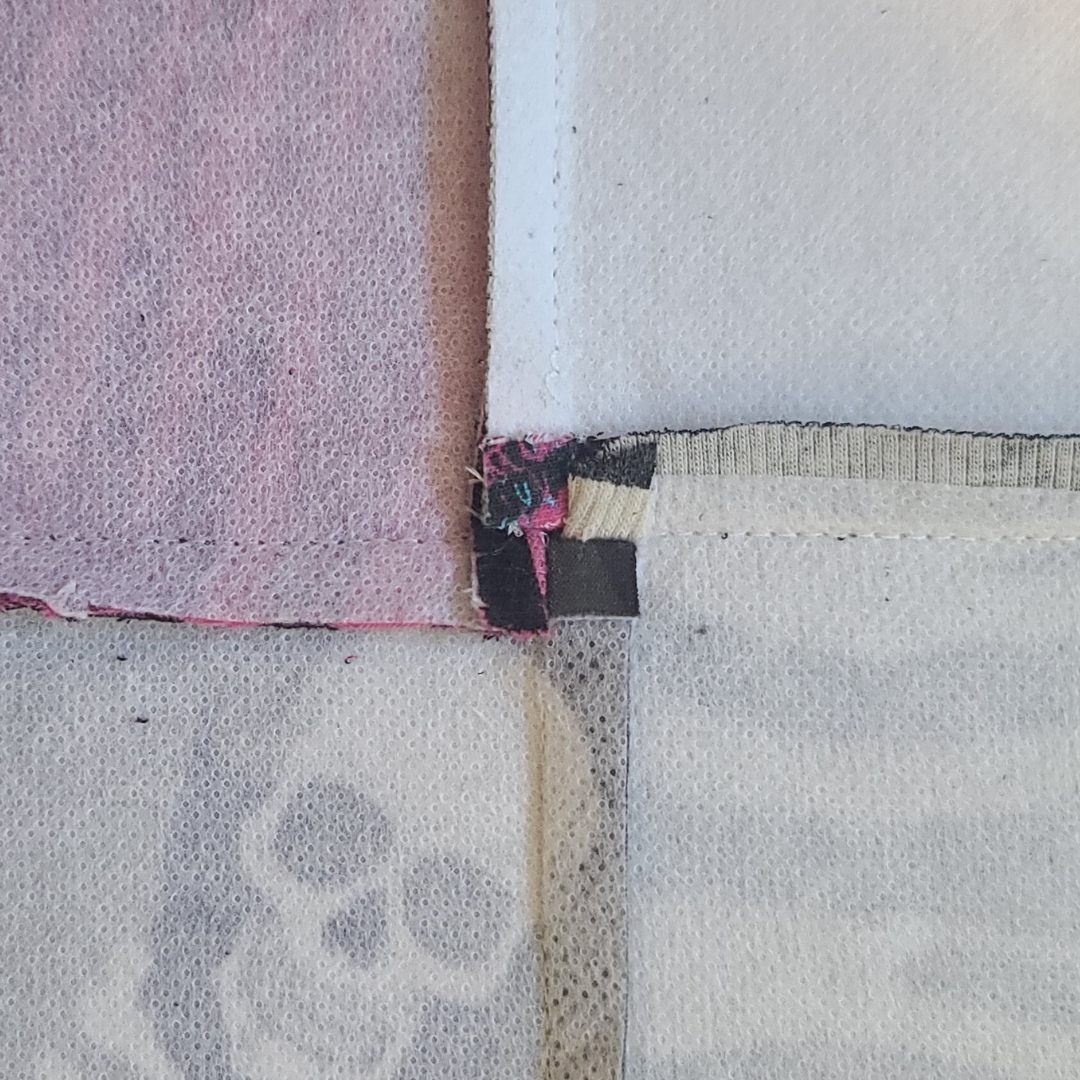
Why You Should Be Spinning Seams in Your Quilts


-
Sale!
 $34.95
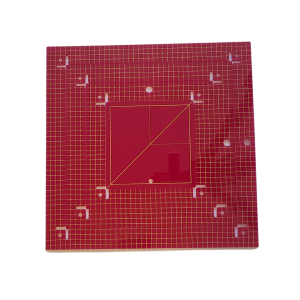
Square-Up Ruler Set
-
Sale!
 $24.95
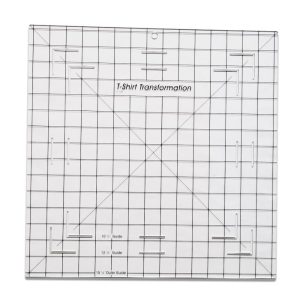
T-Shirt Quilt Ruler
-
Sale!
 $39.95
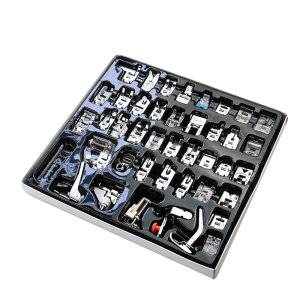
Sewing Machine Presser Foot Set - 42 Pieces
-
Sale!
 $14.95
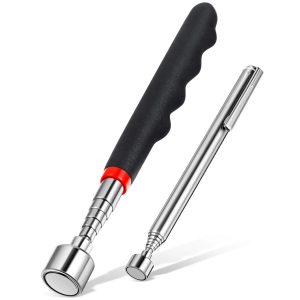
Telescoping Magnetic Pick-up Tool
-
Sale!
 $12.95
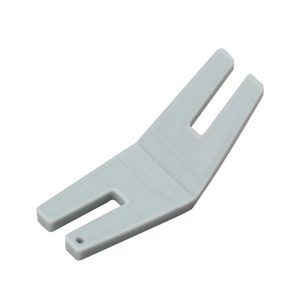
Bulky Seam Jumper Tool
-
Sale!
 $29.95
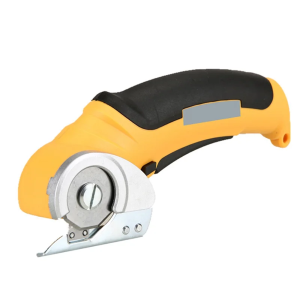
Cordless Electric Rotary Cutter for Fabric