Do you find mitered corners stressful and scary? If so, it’s time you discovered the Easy Miter Binding Tool. This acrylic ruler takes all the guesswork and frustration out of mitered corners!
In a few simple steps, you can add perfectly mitered corners to quilts, wall hangings, placemats, and more, using your backing fabric as the binding. Keep reading for step-by-step instructions on how to use this amazing tool.
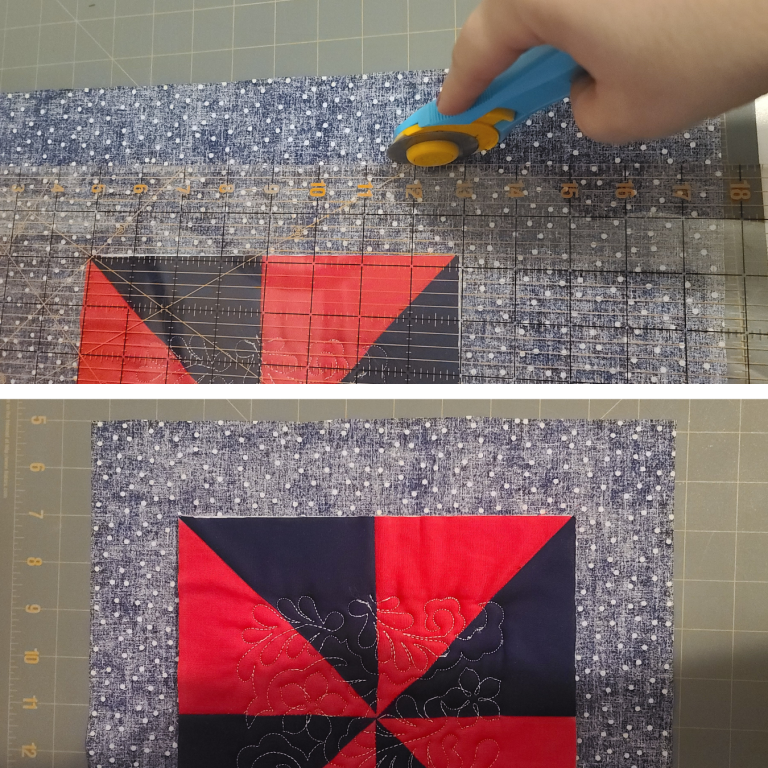
Step 1: Prepare Your Quilt
After basting your quilt top, batting, and backing fabric, trim the batting layer and quilt top so that they are even and lined up. Be careful not to cut through your backing fabric—you need to keep it longer so you can flip it to the front as the binding.
Then, cut your backing layer so that it is twice the size of the binding you want to add. For example, if you want to add a ½” binding, trim your backing to 1” from the edge of your quilt top and batting layers.
Desired Binding Size
Size to Trim
½”
1”
¾”
1 ½”
1”
2”
1 ½”
3”
2”
4”
*You can add bindings up to 2” with the Easy Miter Binding Tool.
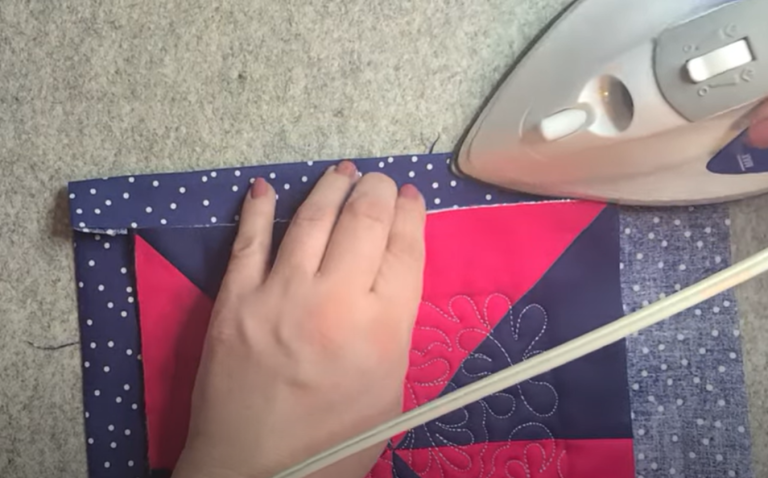
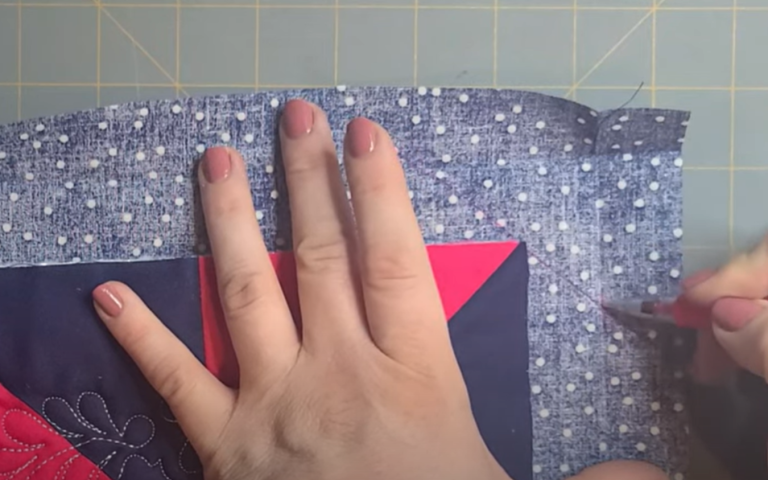
Step 2: Press the Binding Fold
Fold and press the backing fabric on all four sides so that it meets the edges of your quilt top. This will create a crease that you’ll use as a guide in the next step.
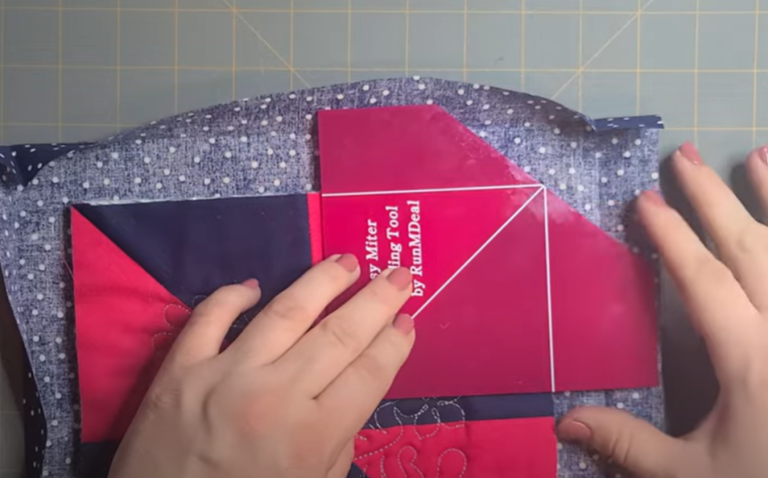
Step 3: Mark the Corners for Mitering
Place the Easy Miter Binding Tool on the corner of your quilt top, using the grid lines to square it up with both edges of your quilt top. The diagonal edge of the ruler should meet the corner point of your quilt top.
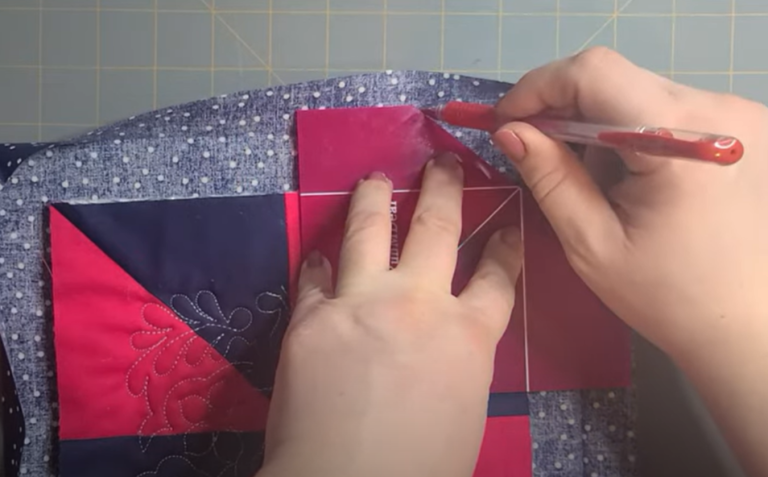
Use a fabric marking pen to draw a line along the edge of the diagonal side of the ruler. Then, draw two small lines where the diagonal line intersects the crease that was formed during pressing. This will give you two “X” intersection points.
Repeat this for all four corners.
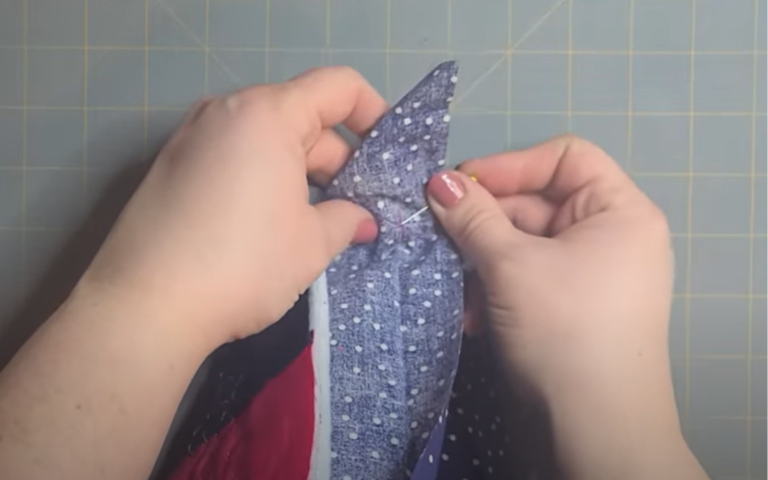
Step 4: Align the “X” Marks and Pin in Place
Fold your project back on itself at the corner to form a triangle. The “X” marks should both be visible. Place a pin through both “X”s and ensure that those intersections line up.
Place a few more pins to hold the fold in place. Make sure that the adjacent edges of your quilt are lined up an even.
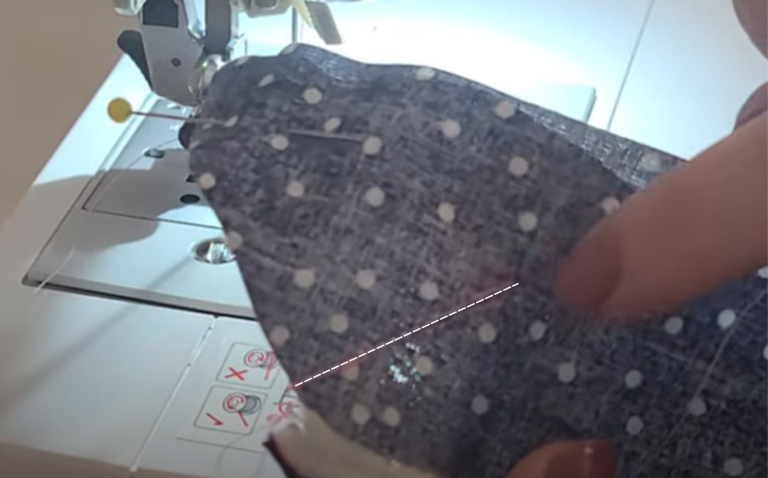
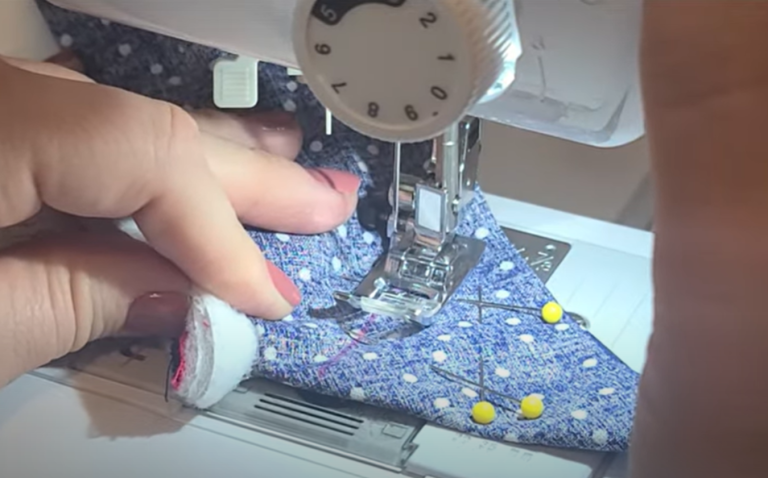
Step 5: Sew the Miter
Sew on the line from the intersection point at the crease to the fold point, backstitching at the beginning and end. Be sure not to sew past the intersection point.
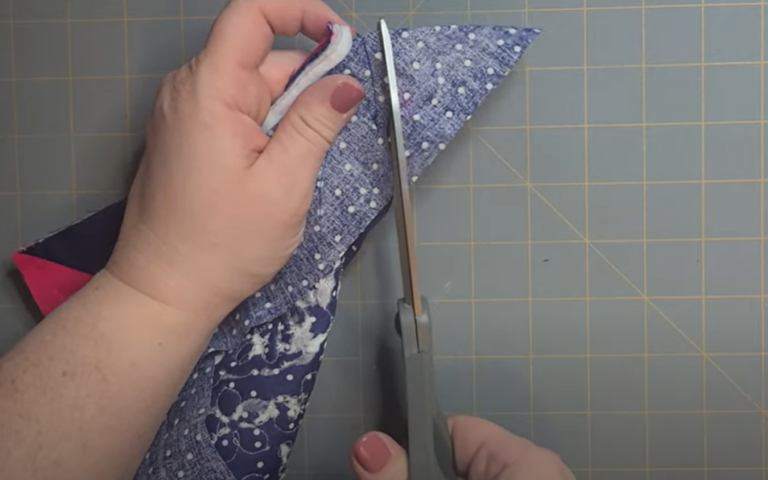
Trim the seam allowance ¼” from the stitching. Also cut off the corner point, being careful not to snip through the stitches.
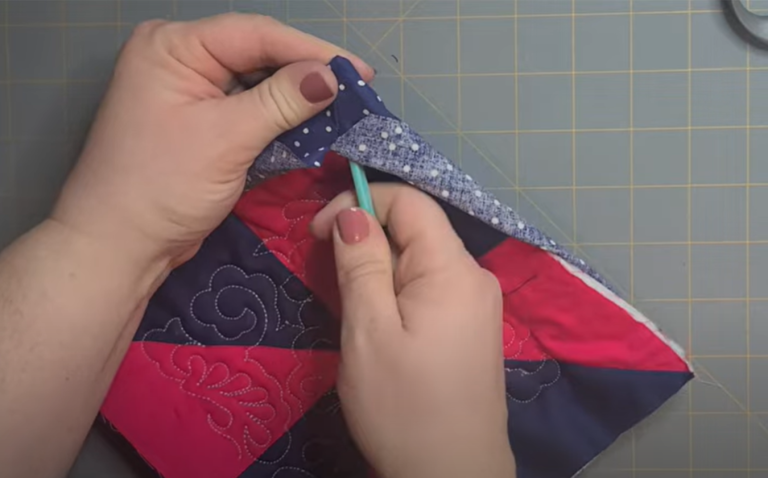
Step 6: Flip the Binding to the Front
Turn the stitched corner right side out to form the miter. Be sure to push the corner out to a sharp point. Repeat for all four corners.
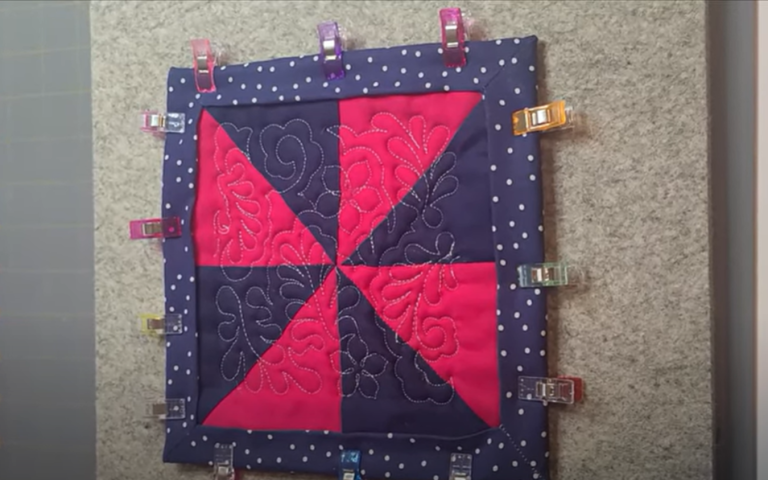
Press the binding all the way around the quilt so it is nice and crisp. Then, use some pins or magic clips to hold the binding in place.
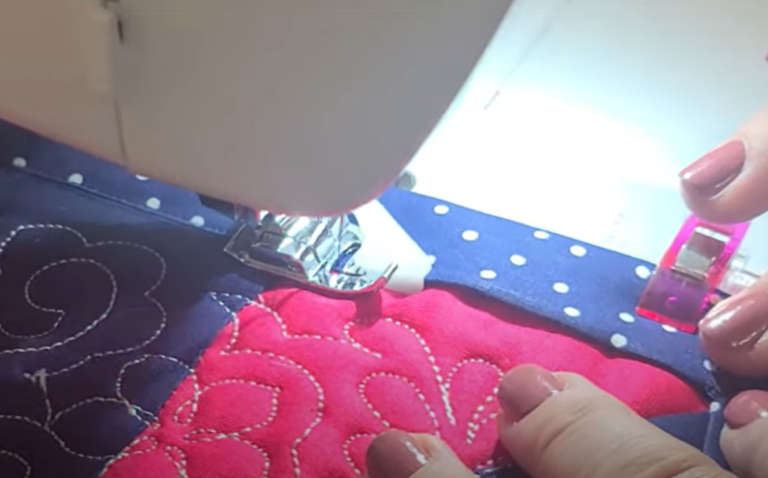
Step 7: Finish the Binding
Topstitch close to the folded edge to secure the binding in place. If you want a neat, seamless finish, you can attach the binding by hand with an invisible/ladder stitch.
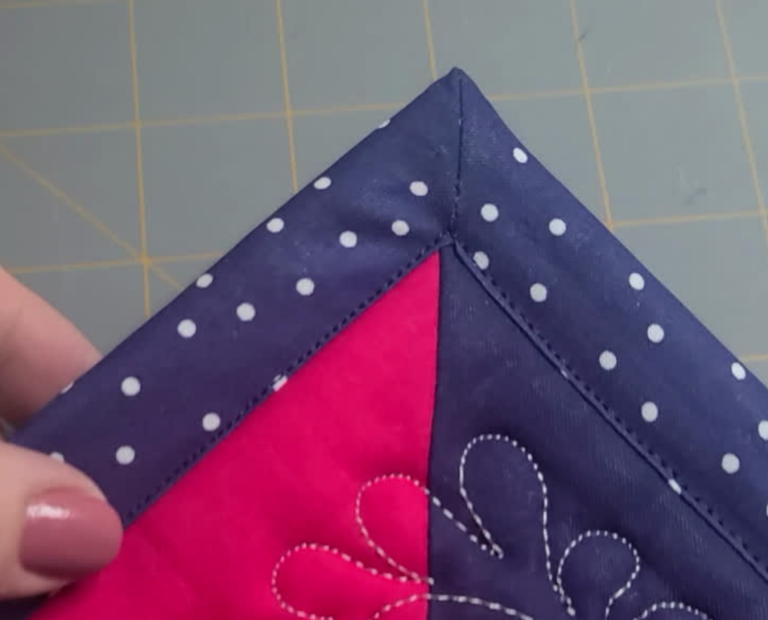
You should now have beautiful, mitered corners!
Let me know if you have any questions in the comments below.