
Learn to Sew
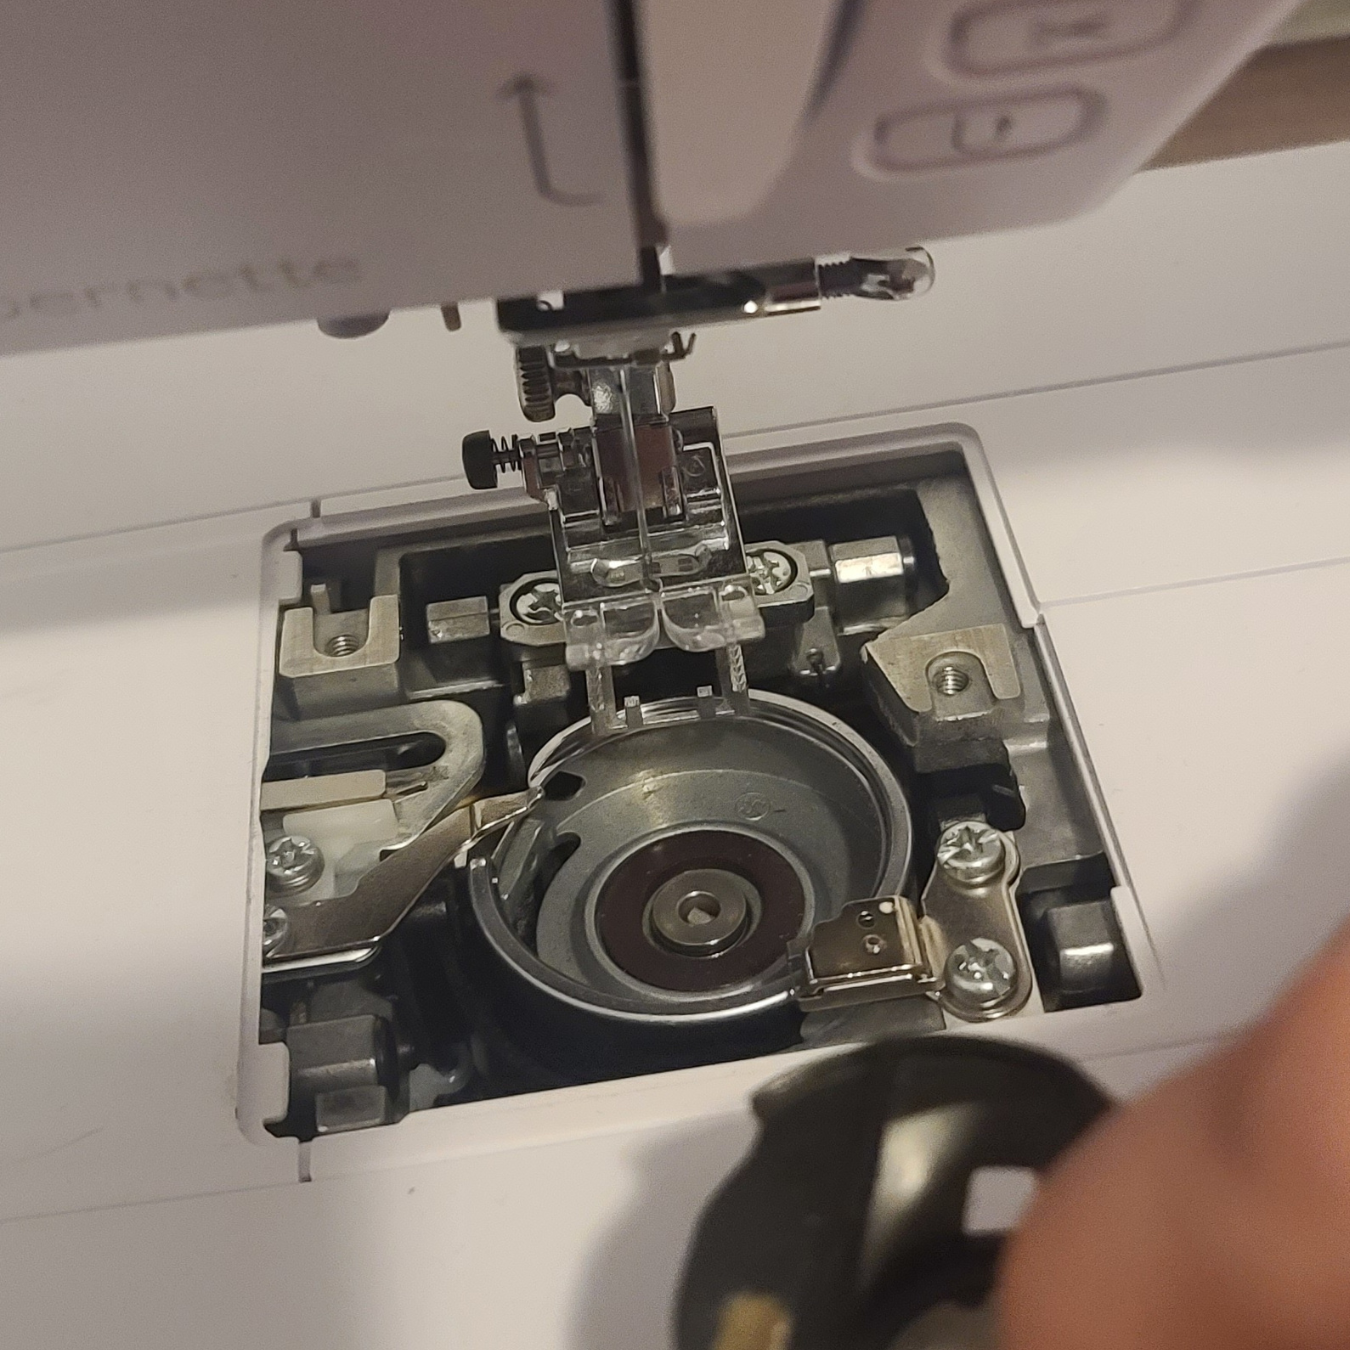
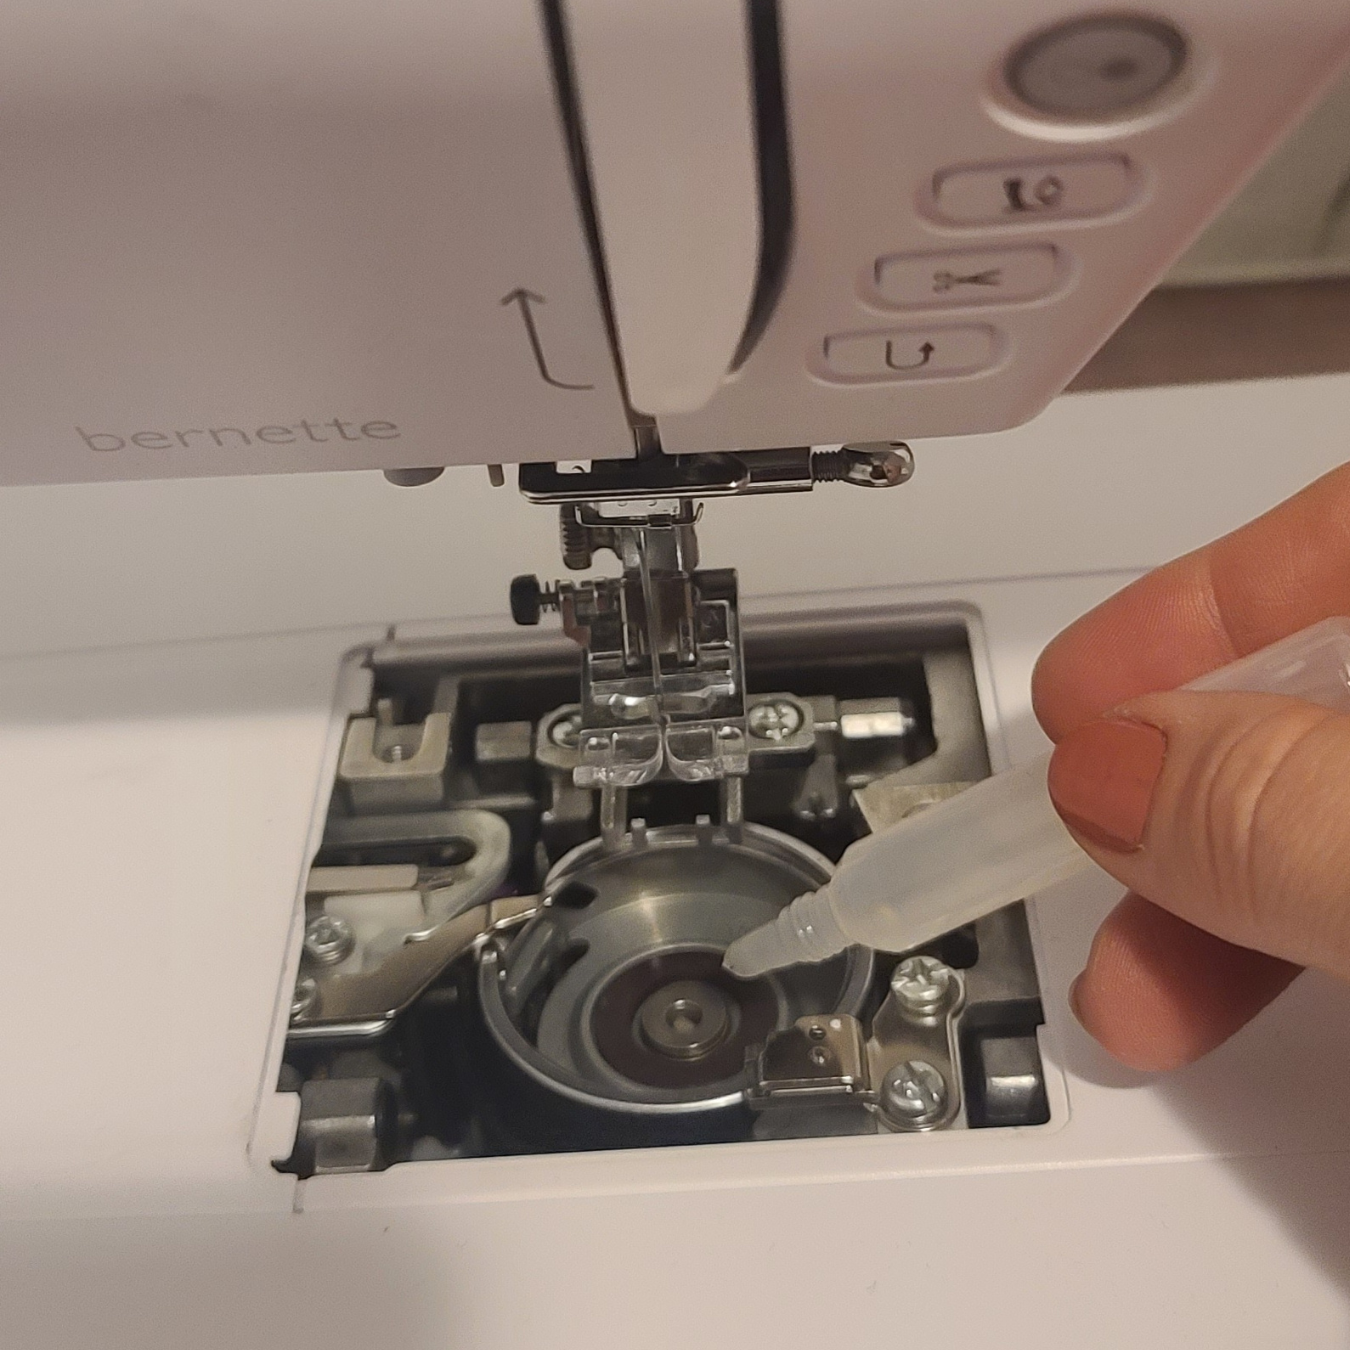
How to Clean Your Sewing Machine
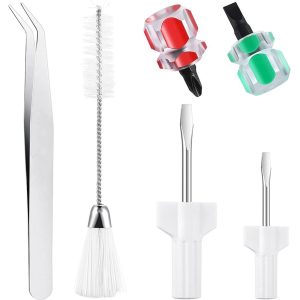
Sewing & Quilting Tools


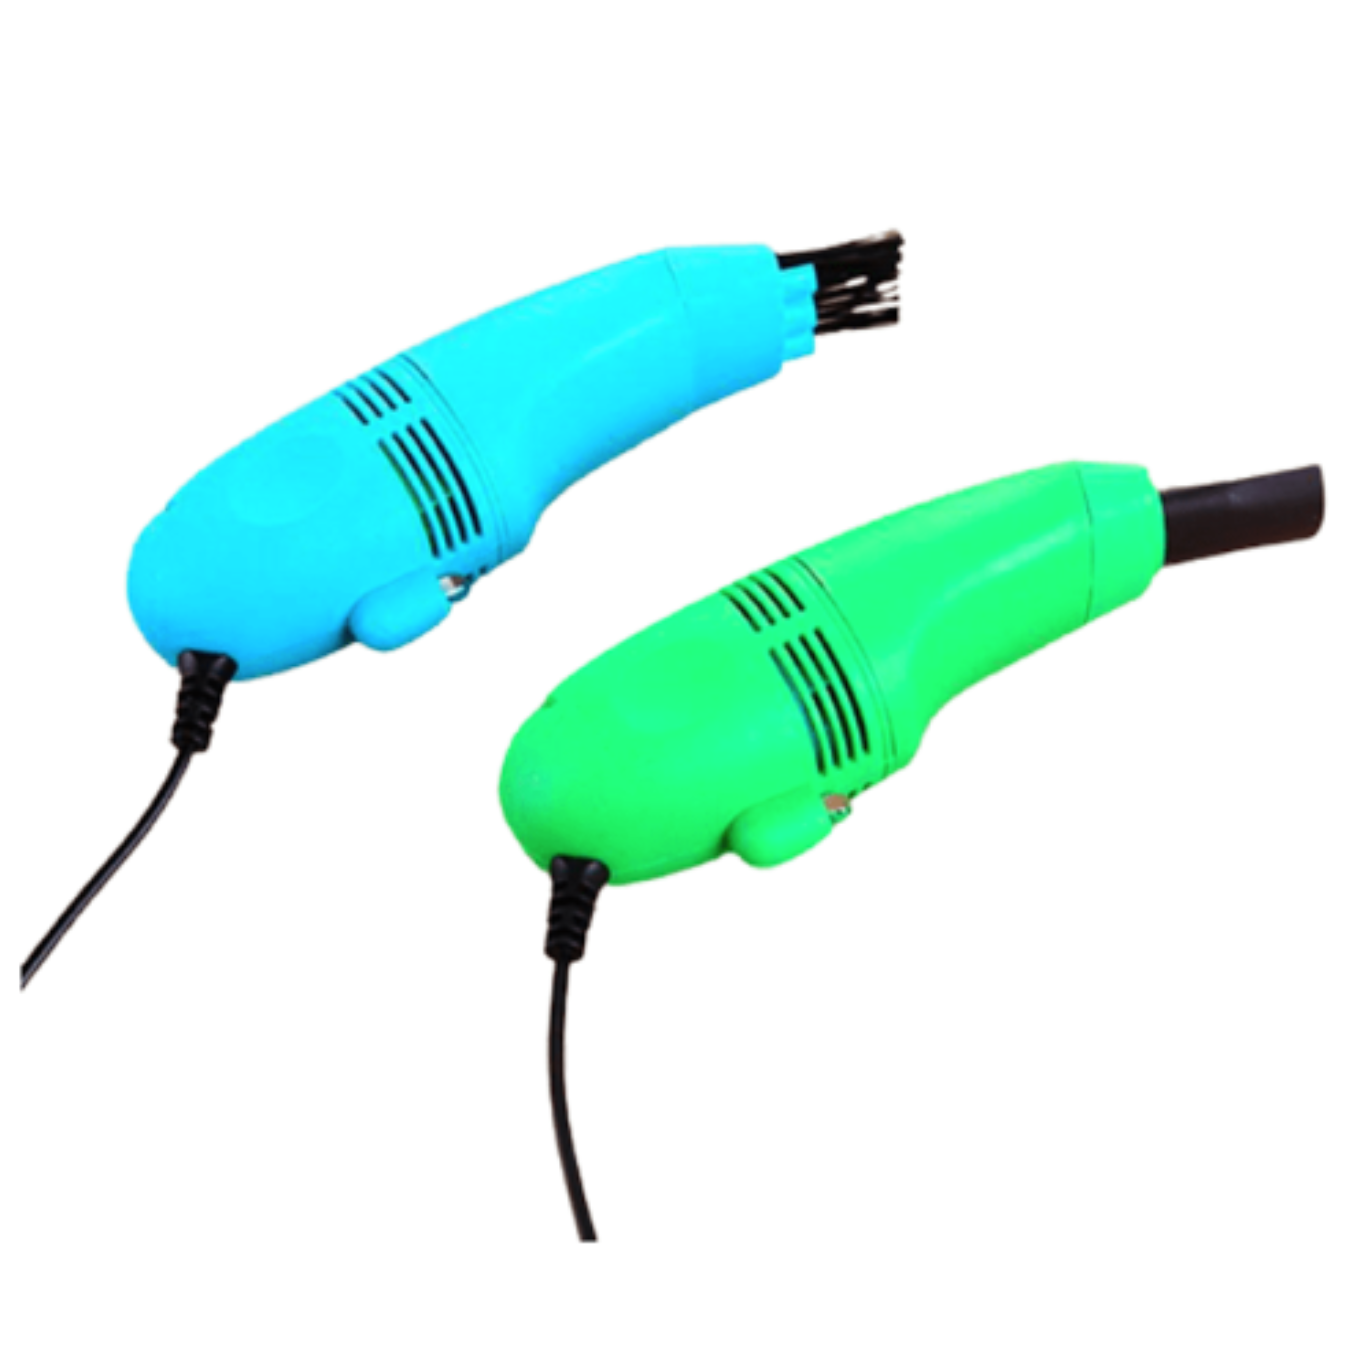
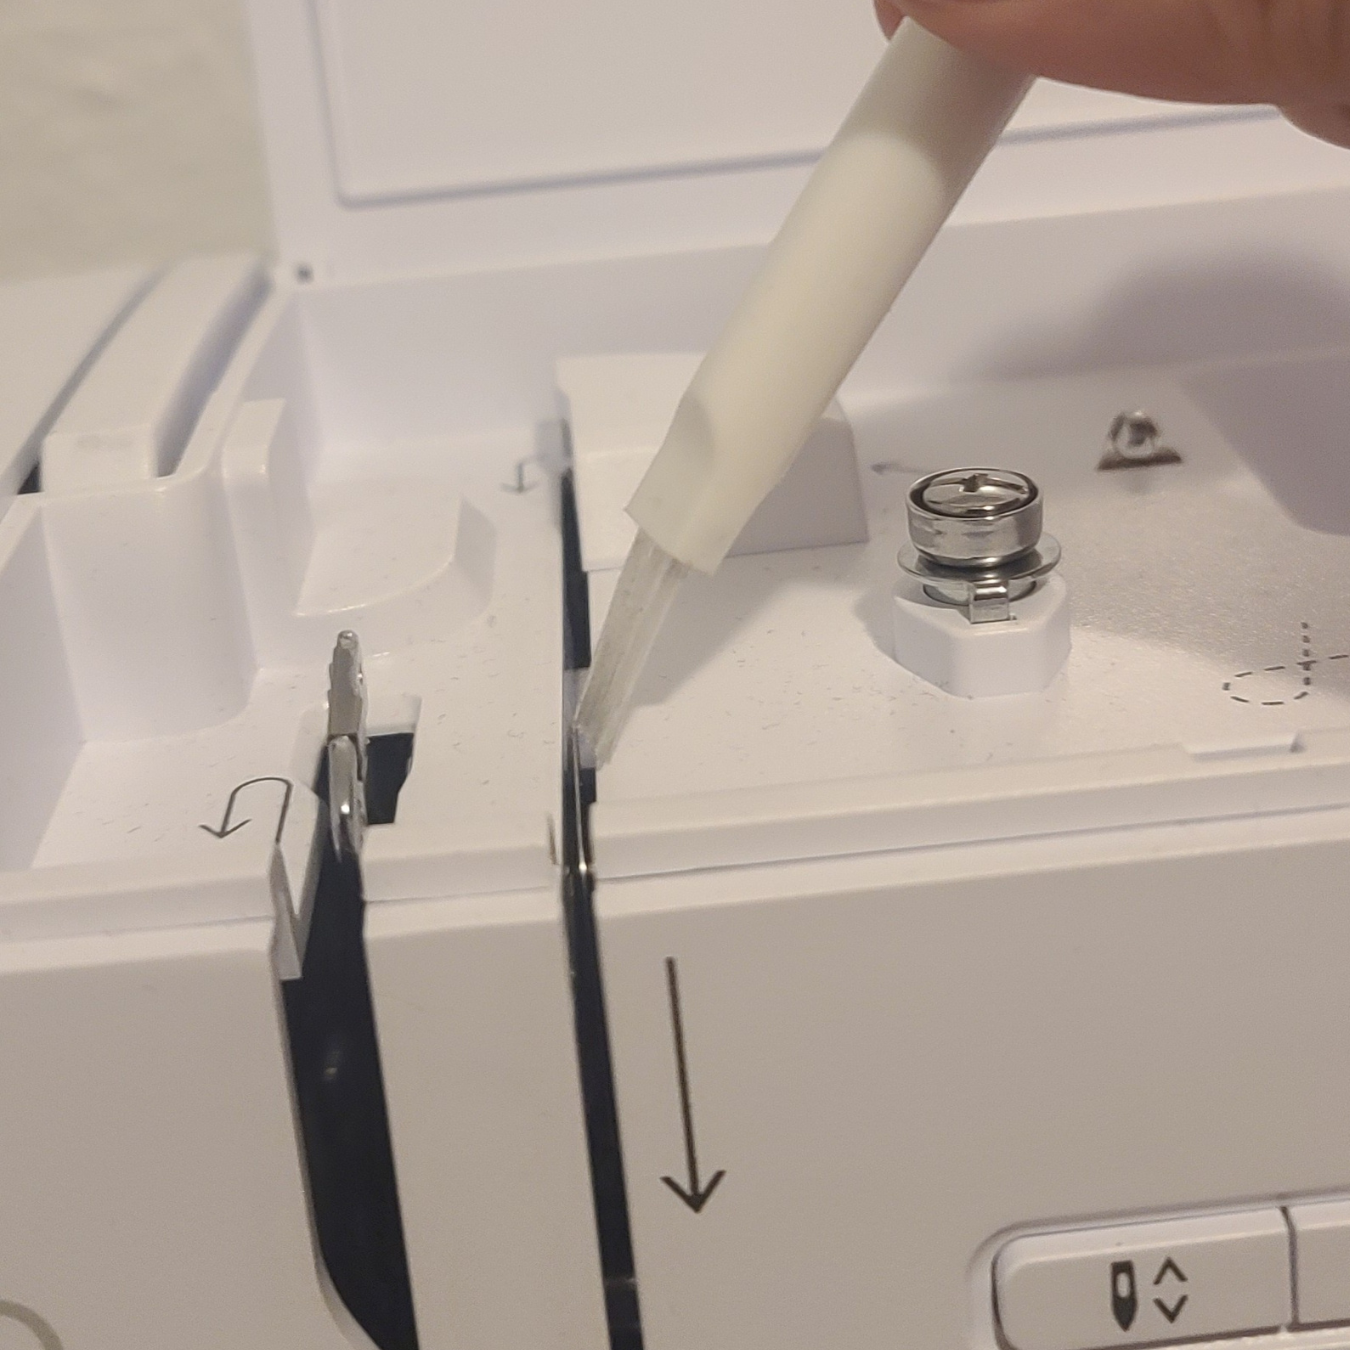
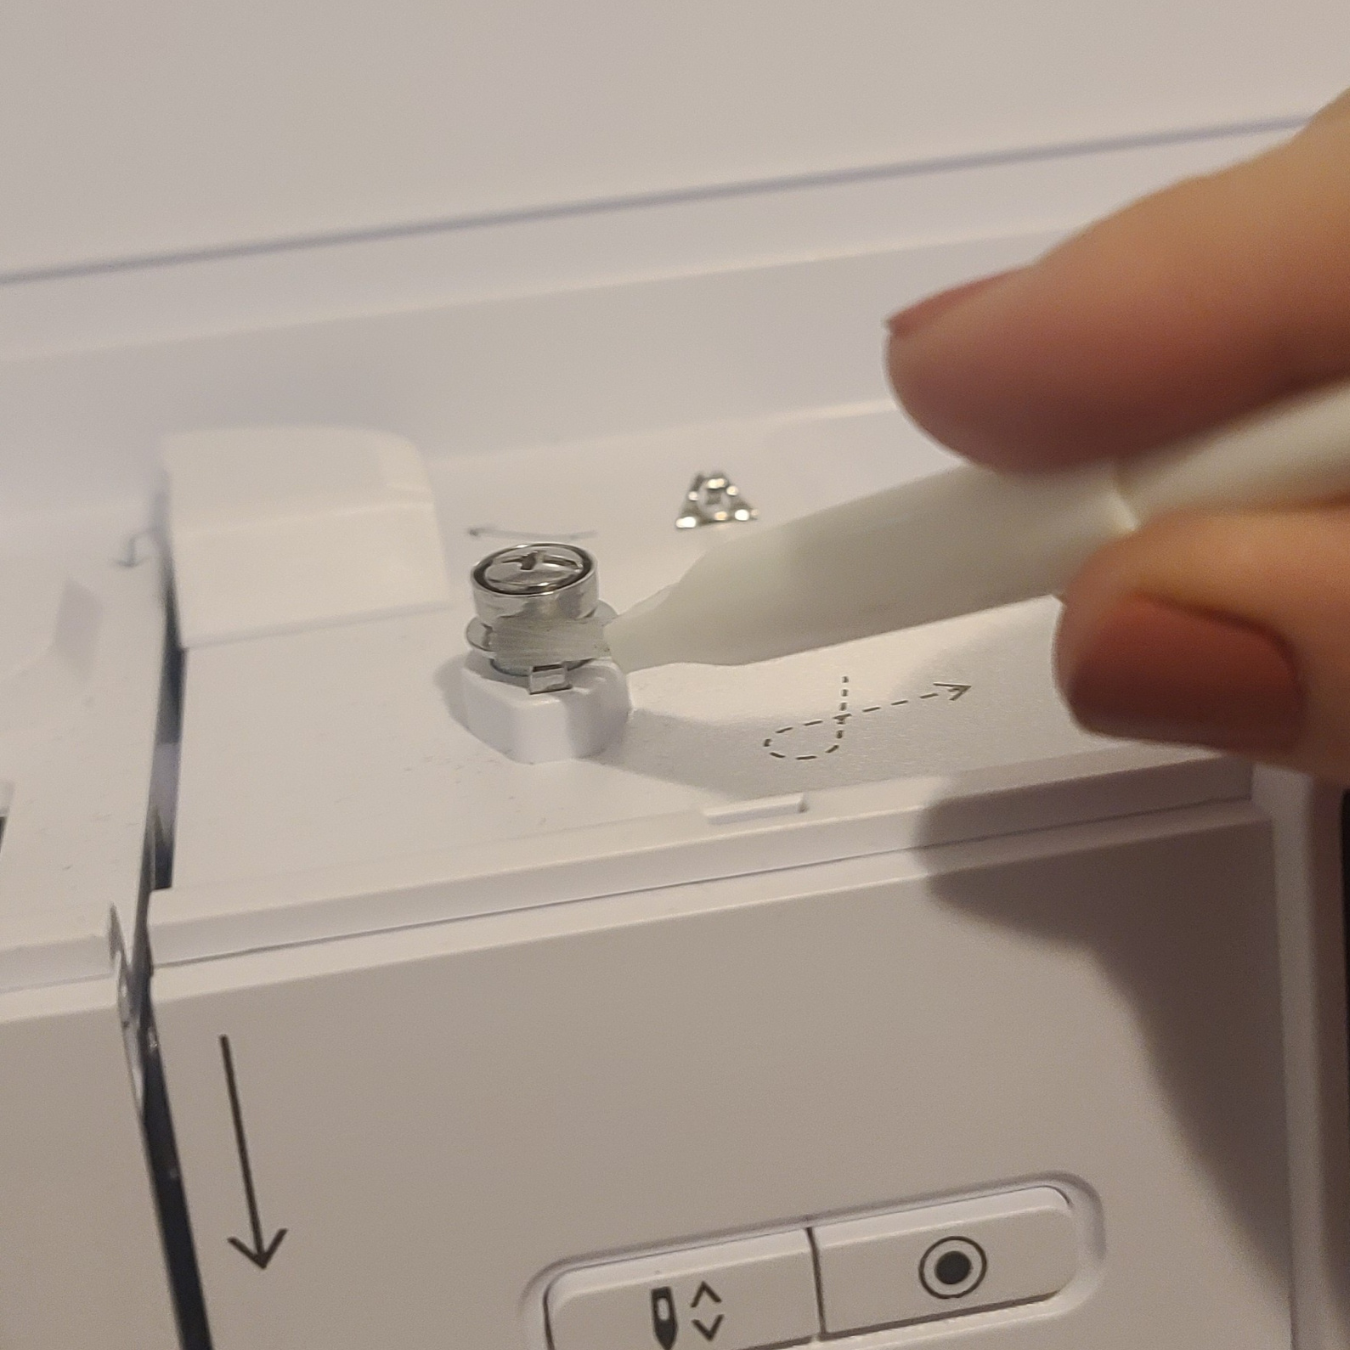
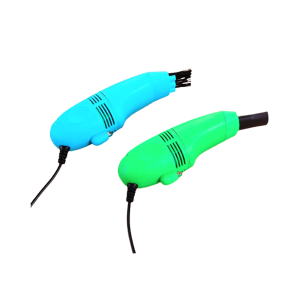
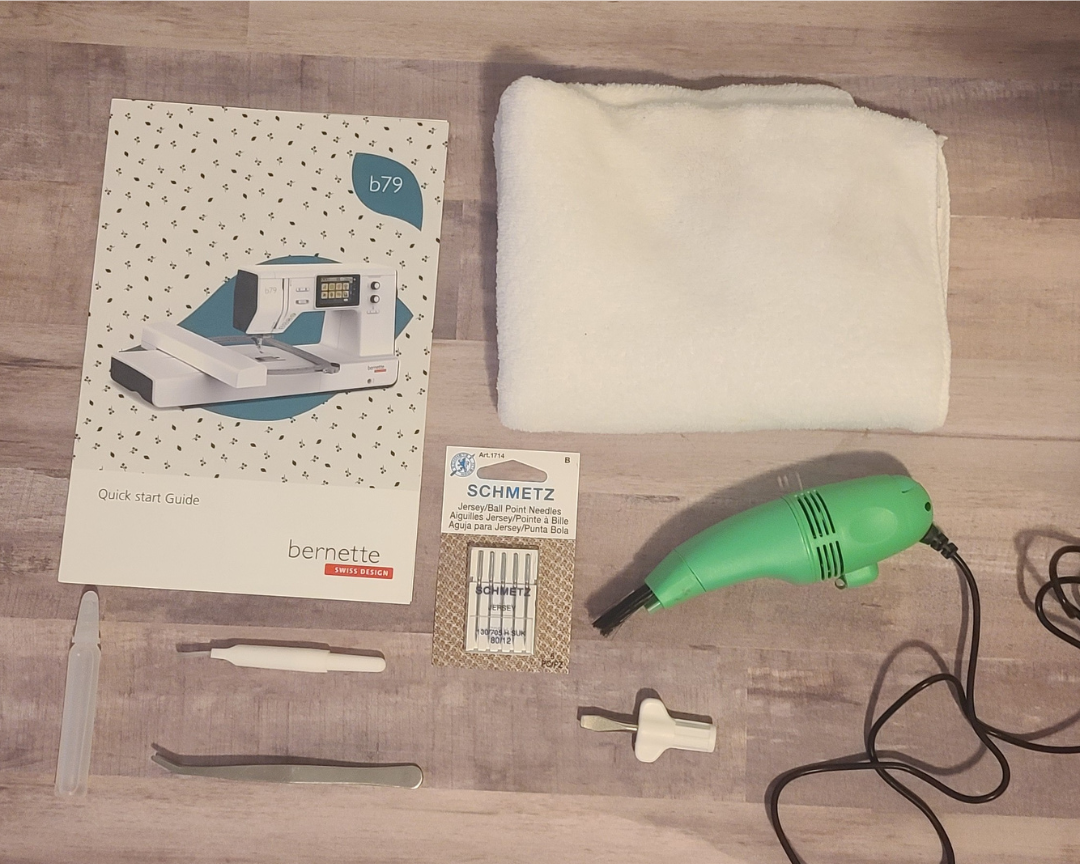
Sew Pro Mini Sewing Machine Vacuum®
Safely suck lint, thread, and debris from your bobbin case, feed dogs, and thread take-up lever.
Pingback: Sew Pro Mini Sewing Machine Vacuum Instruction Manual - StitchEmporium